This DIY Beehive Could Help Save The Bees And Its Going Viral
Tags: opinion
Bees have been in the media spotlight recently due to their declining populations and the huge implication that their dwindling numbers are having on food production. Due to this, reports have claimed that beehives are now disappearing at an alarmingly rapid rate, which is largely due to pesticides and mites, as well as climate change.
As people are recognizing the seriousness of the issue, many are trying their best to help by keeping their own beehives, which is a surprisingly simple, but very effective, task to carry out. Not only will it help declining bee populations, but it will also mean that you can produce your own organic honey for your personal consumption.
All that you will need is a pre-made bottom beehive kit, plywood, and some jars for the main beehive, along with: one piece of 2″ x 12″ x 6′ wood (cut two pieces to 22″ each for the sides); one piece of 2″ x 12″ x 6′ wood (cut two pieces to 18″ each for the front and back); one piece of 1″ x 1″ x 6′ wood (cut two pieces to 22″ each for the top frame’s left and right sides); one piece of 1″ x 1″ x 6′ wood (cut two pieces to 18″ each for the top frame’s front and back sides); one piece of thick plywood cut to 16″ x 20″; 12 big mouth quart-sized jars for the honeycomb; one box of 1″ wood screws; one can of any dark wood stain; and, of course, your bees.
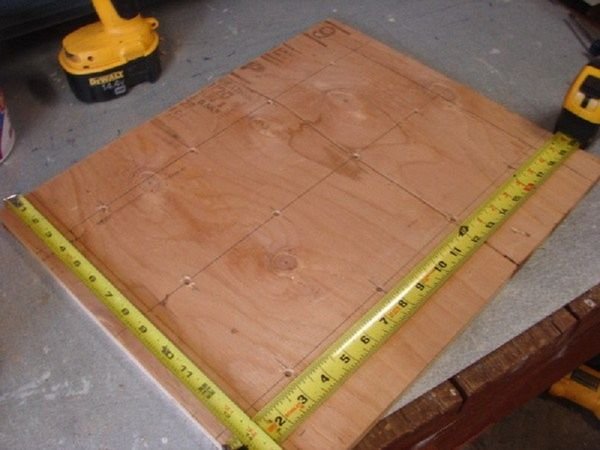
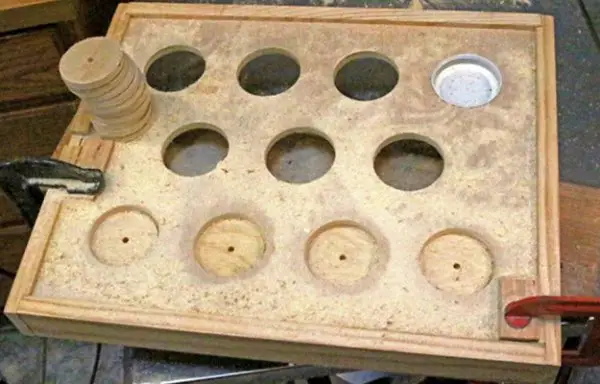
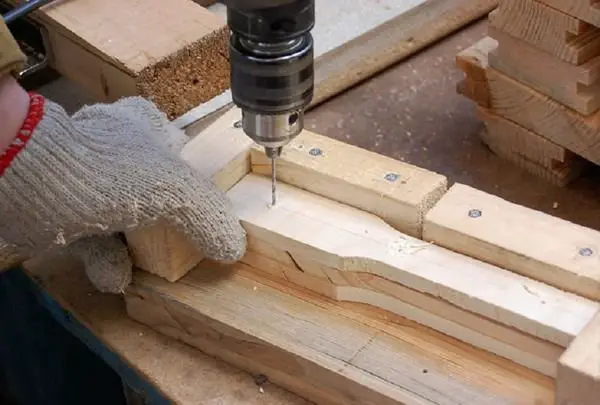
The plywood will act as a frame for the beehive kit and therefore can be stained however you choose. 12 holes should then be drilled into the 16″ x 20″ piece of plywood which should be big enough to screw the mason jars into.
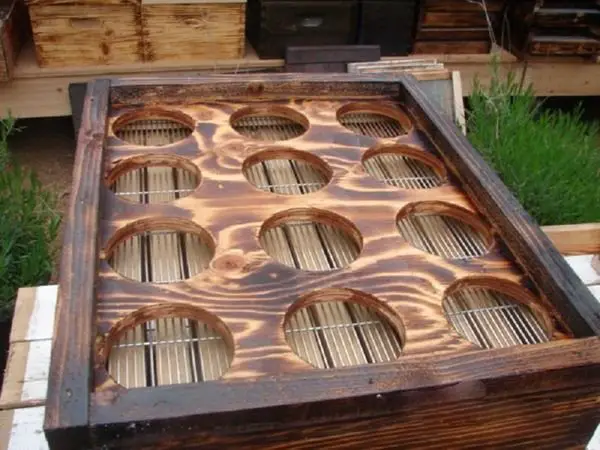
Following this, the top frame can be made by screwing together the four pieces of 18″ and 22″ plywood, which can also be stained any colour.
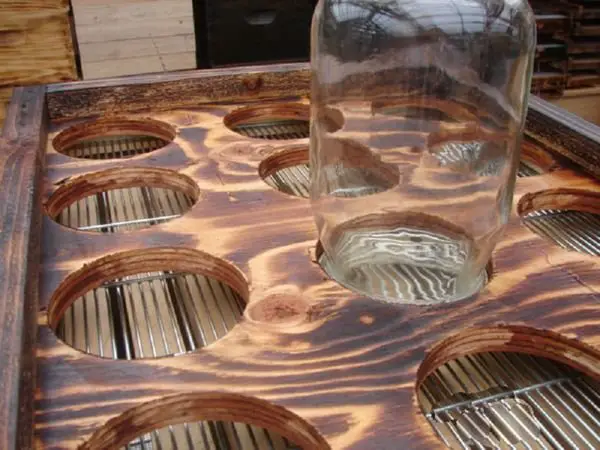
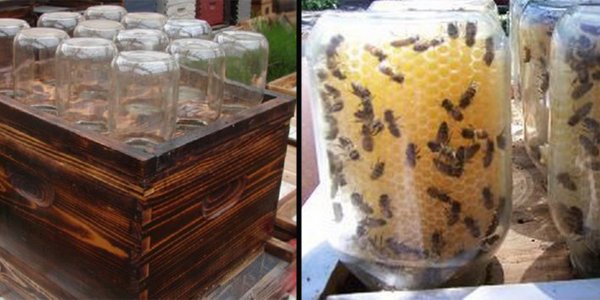
Following this, sanitize each of the 12 mason jars before twisting them upside-down into the holes, before adding washers or shims inside the jars to support the weight of the honey that will be there later. After the lids of the jars have been screwed on, they should fit perfectly into the drilled holes with less than a 1/16″ gap between the jar and the beehive hole.
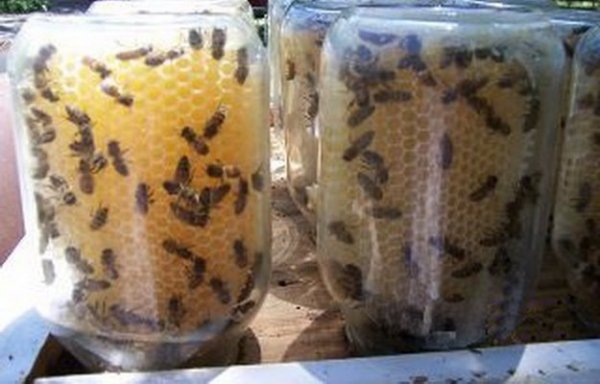
After placing starter strips or empty combs inside the jars, you can now add your bees. They will immediately become attracted to the comb, and start their work making the honey. Once the jars are full of honey, you can twist the lids on, so that the bees will keep working whilst the honey is being harvested.
You will notice that the jars will heat up quickly when the lids are on, due to there being no ventilation. Therefore, they need to be kept in the shade.
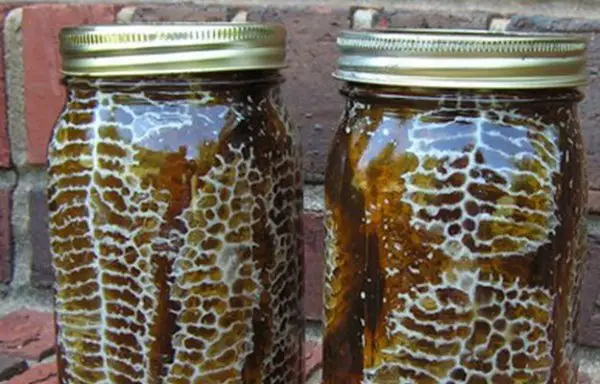
Once you have the basic supplies, the rest should come easily, providing you with a constant supply of delicious honey, whilst ultimately saving a rapidly declining population.
H/T: Angie Barnes from Boredom Therapy
I am Jess Murray, wildlife conservationist, photographer, and writer. I like to document the natural world and create awareness through my writing so that your future can be sustainable and positive. Follow my Facebook page and Instagram account to be part of the journey.
Leave Comment: